The lab · Image to mesh
One picture in, one 3D mesh out.
Hunyuan3D 2.1, running on the machine under the desk. Sweep across a picture to see what it made.
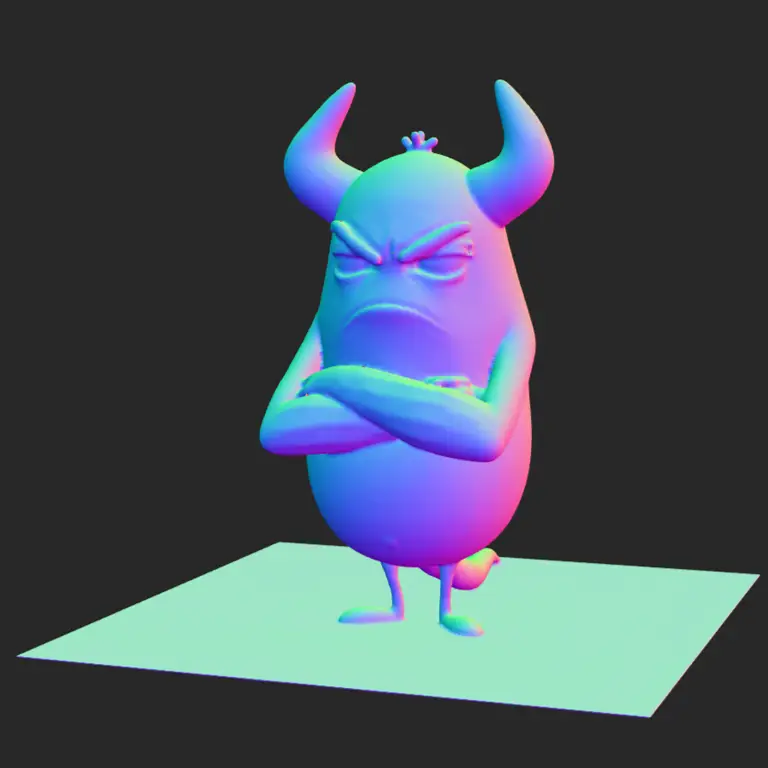
 Picture
Mesh
Picture
Mesh
Move across it, or tab to it and use the arrow keys.
What it does
You hand it one picture. It guesses at the parts it can't see, the back of the head and the far side of an arm, and gives you a mesh you can open in Blender and walk around. The whole thing runs locally in ComfyUI, so nothing leaves the machine.
There's nowhere to type. Most of these tools take a description and this one doesn't: it reads the picture itself and works from that, so anything you want changed has to be changed in the picture first and run again.
Rigging
This is the awkward part. Rigging is putting a skeleton inside the model so it can be posed, and it wants a surface built out of tidy rows of four-sided faces that follow the shape. Rings around the elbow, so the arm folds where an arm folds.
What comes out of a model like this is one continuous skin with no particular order to it. It looks right and it creases badly. Folded arms are harder again: where the two arms touch, the surface has usually joined into one lump, so there's nothing left to pull apart.
The answer is to retopologise, which means laying a clean surface over the top by hand and keeping the generated one underneath as the reference. Half a day, and then it animates.
Materials
This model gives you the shape and stops. Colour, and how the surface behaves in light, is a separate job afterwards. What you're looking at above is the bare mesh with a shader that tints it by which way each part is facing, which is why it comes out like a boiled sweet.
There are models that do the textures in the same pass, and they want a great deal more graphics memory than this one. That's the trade. Run it on a card you already own and paint it yourself, or go and find the hardware.
Detail
A character is about as easy as it gets, so I tried a castle. I was expecting a clean render out of it.
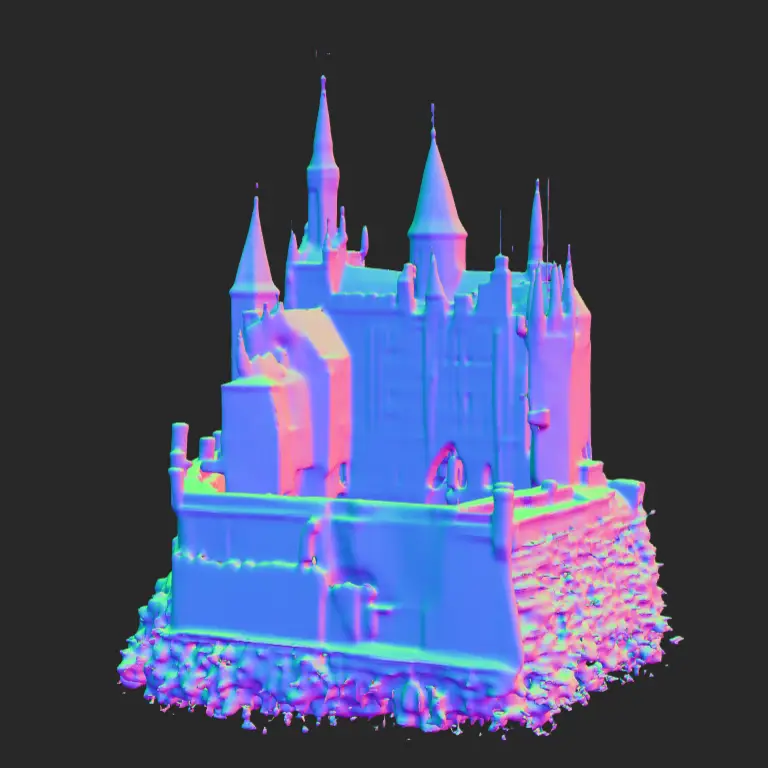
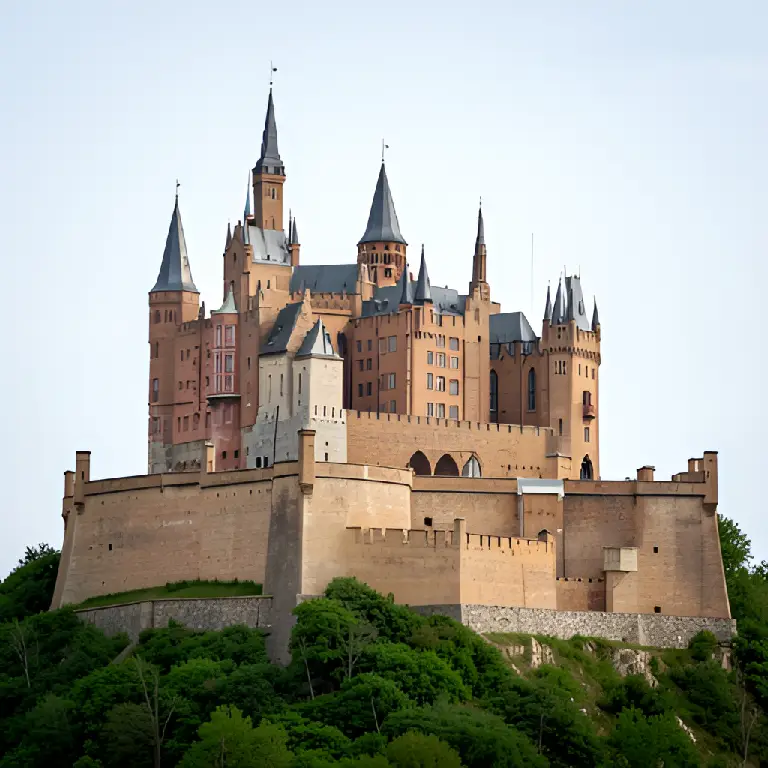 Picture
Mesh
Picture
Mesh
Move across it, or tab to it and use the arrow keys.
The result
It's poor. The towers are in the right places and the silhouette holds up, but everything small has gone soft. Windows and stonework arrive as a ripple across the surface instead of as edges, the spires thin out into needles, and the trees along the bottom have set into a crust. It can't tell a hundred separate small things from one bumpy surface.
The reason is the same one that makes it quick. It doesn't look at the picture at full size, it reads it at a fixed and fairly small one, and it builds the shape at a fixed level of detail too. A drawing of one character has detail to spare at that size. A photograph of a building has a few hundred windows in it, and most of them are smaller than the model can see.
There's no setting for it, and no prompt to explain yourself with either. What you can do is give it less to look at: one tower rather than the whole castle, and assemble the parts afterwards.
Verdict: Mixed results, but genuinely saves time for some 3D asset creation tasks. Basic 3D objects, especially static scenery items.
I'll post my findings on more capable models soon...